I have a post up currently about transfer crafts using a basic desktop printerover at SC Johnson’s Family Economics, HERE.If you have more information, ideas or advice on the subject, I know that I and other readers would love to know it, so please add the information in the comments area. Or, if you just enjoyed the article, I appreciate the feedback there. Thank you so much.While you’re at the SCJ website, check out the other SCJ bloggers’ articles in the Family Economics section, they are really awesome and posting daily! There’s a good chance you might know some of them!
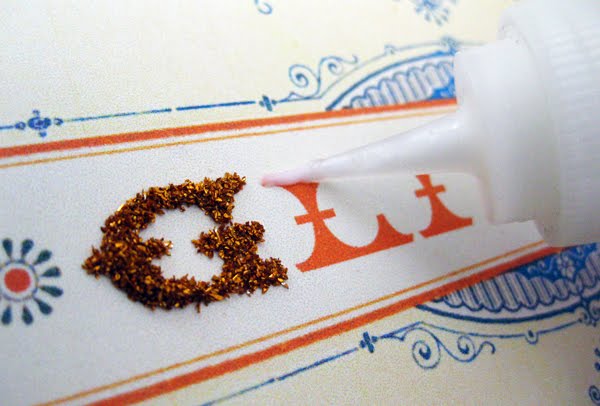
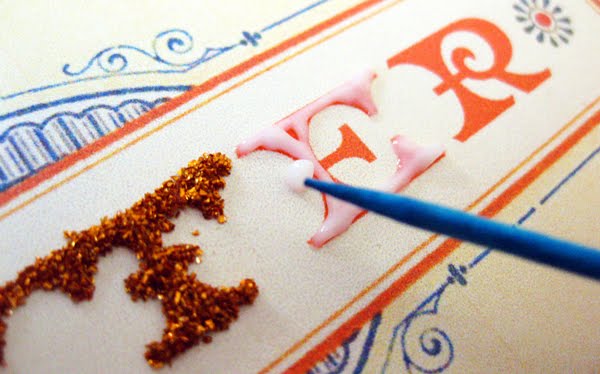
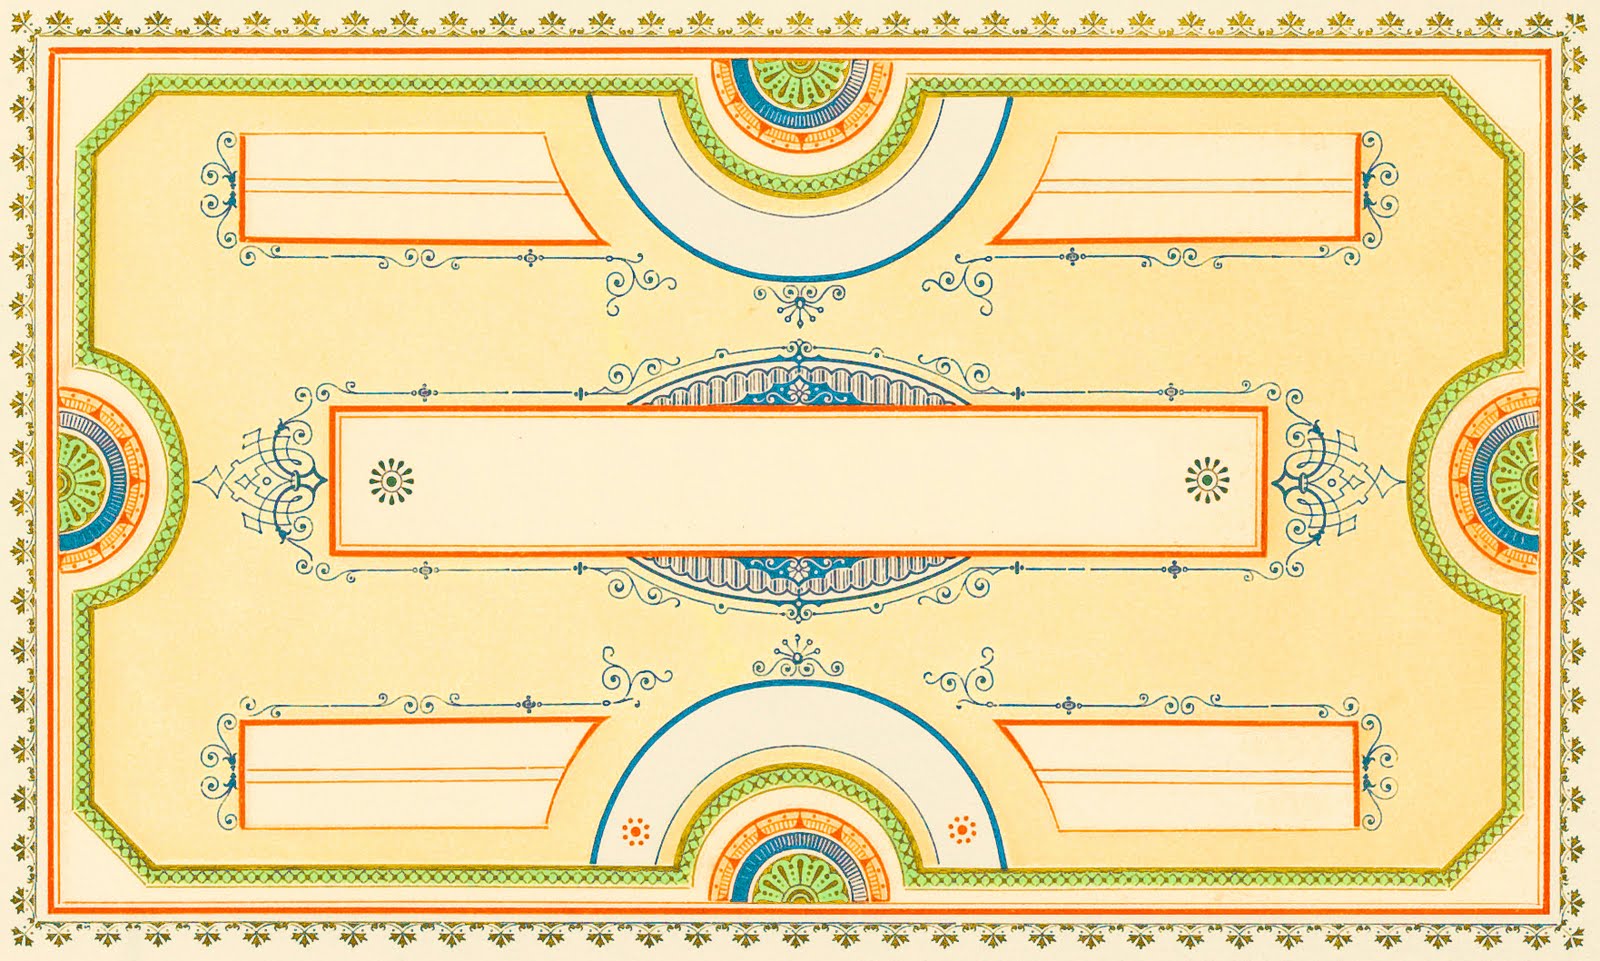
I felt like playing with glitter this weekend and thought it would be so beautiful used on the detail of a vintage graphic. I found some old advertising images and modified them for use. I created a fun little glitter sign for my studio for the summer sun to hit as it comes through my big wonderful window.When modifying the images, I altered the colors of the graphic to closely match the colors of German glass glitter that I have. I added some typography of my own and I printed out the image onto card stock. Plain paper would ripple and warp from the moisture of the glue and card stock is great because you can tap it on the table much easier than plain paper when removing excess glitter.Work over a large piece of paper. I began by I drawing over the lettering with the glue, one letter at a time, then covering with glitter. I worked slow as I didn’t want the first letter drying before I got to the last. You’ll find a toothpick is your best friend when doing any intricate German glass glitter work. It picks up the unintended globs of glue,and the random chunks that didn’t come off when tapping off the residual glitter. A toothpick also helps drag glue into tiny areas that your glue bottle tip can’t get to.
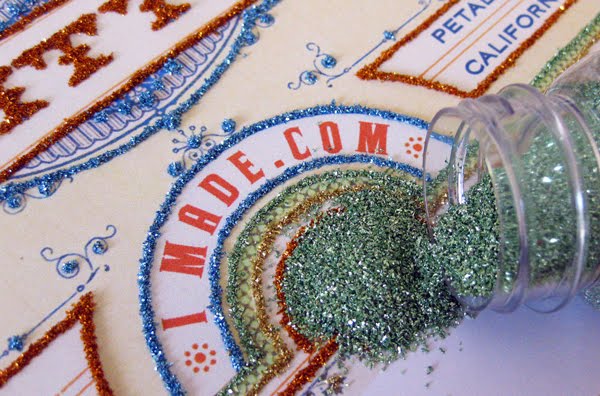
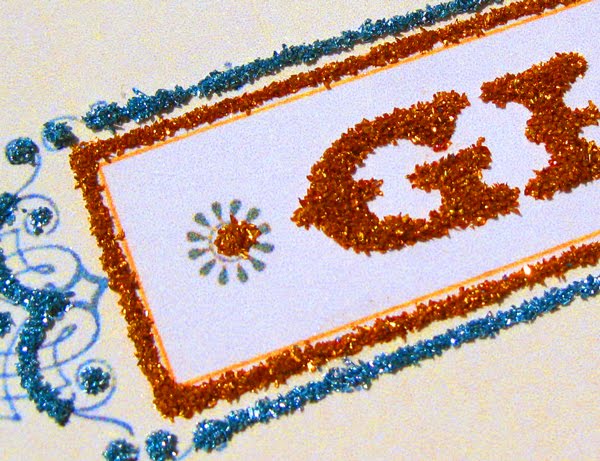
No way was I going to attempt to draw all the detailed scrollwork of the design with my bead of glue as thick as it was, so simply dotting to punctuate areas of the scrolls was enough since the ink color was similar to the glitter color.It is important to only add one color of glitter at a time. I started with orange and covered every bit of orange detail then funneled all the orange glitter back into its bottle before moving on to another color. Otherwise, residual glitter will end up mixing together on your paper and you won’t want to funnel the mixed glitter back into the color specific bottles. (Though I did go back later and fill in some extra type with orange in the end.)Once all the colored German glass glitter was applied, color by color, I laminated the cardstock to a piece of foam core board using spray adhesive and trimmed out the design.Using a paintbrush, I applied glue to the edges of the foam core to add more glitter.Because my glitter sign is so lightweight, simple poster putty is all I will need to hang it up in my studio.Here are the beautiful vintage graphics modified for you to use with your own German glass glitter or in any other project. Click to enlarge.
Lately, I’d been coveting a very expensive font. I think I’ve even had dreams about using it. It’s so fabulous I can hardly stand it. If you’re a designer, you get my passion for fonts. If you’re not, you may think I’m off my rocker.But finally, I had a logo project come through that was the perfect reason to drop the dime. The font is House Industries Eames. It’s only available as a font family, making it so costly, not to mention the attention to detail the designers put into it. The font comes with lots of great ornaments and frames and has a great background story. So while I had Adobe Illustrator open to work on other projects yesterday, I snuck in a little fun blog project using the Eames font and extras.
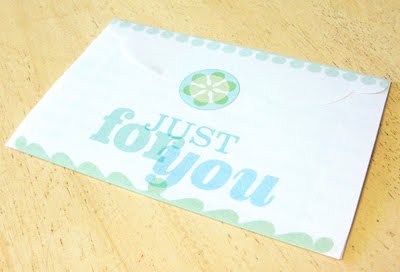
I designed an all-in-one letter/envelope complete with round closure seals. The back side is dotted to keep your hand writing straight. You can opt out of printing the inside of course. Click on the images below to access the PDF files.This project motivated me to finally write my sister, Jennifer, a little letter.Once printed and folded- -write a note, fold back into an envelope, tuck the flap inside at the curve and seal with one of the circle designs, (I sprayed the back of the circle seal with strong spray adhesive, but a glue stick should work just as well.) Flip over and address. What more appropriate postage than an Eames stamp?I am adding an additional blank design as a template. Use with your own awesome designs, or print to card stock, cut out and trace around on funky paper such as a magazine ad or scrapbook paper then add a simple blank sticker for addressing. Put a smile on a letter carrier’s face!I designed the template to fit 4″ x 6″ photos, so make some photo envelopes! Click on the above image for the PDF file. Reduce template in size and use for making gift cards.
What else could you do with the template?
PS. After posting, I realized postage is now 44 cents. I’d been savoring my very last Eames stamp too long I suppose. Now I’ve got to go retrieve that letter from the box and add extra postage…

 If you have more information, ideas or advice on the subject, I know that I and other readers would love to know it, so please add the information in the comments area. Or, if you just enjoyed the article, I appreciate the feedback there. Thank you so much.
 While you’re at the SCJ website, check out the other SCJ bloggers’ articles in the Family Economics section, they are really awesome and posting daily! There’s a good chance you might know some of them!